Selection and adjustment
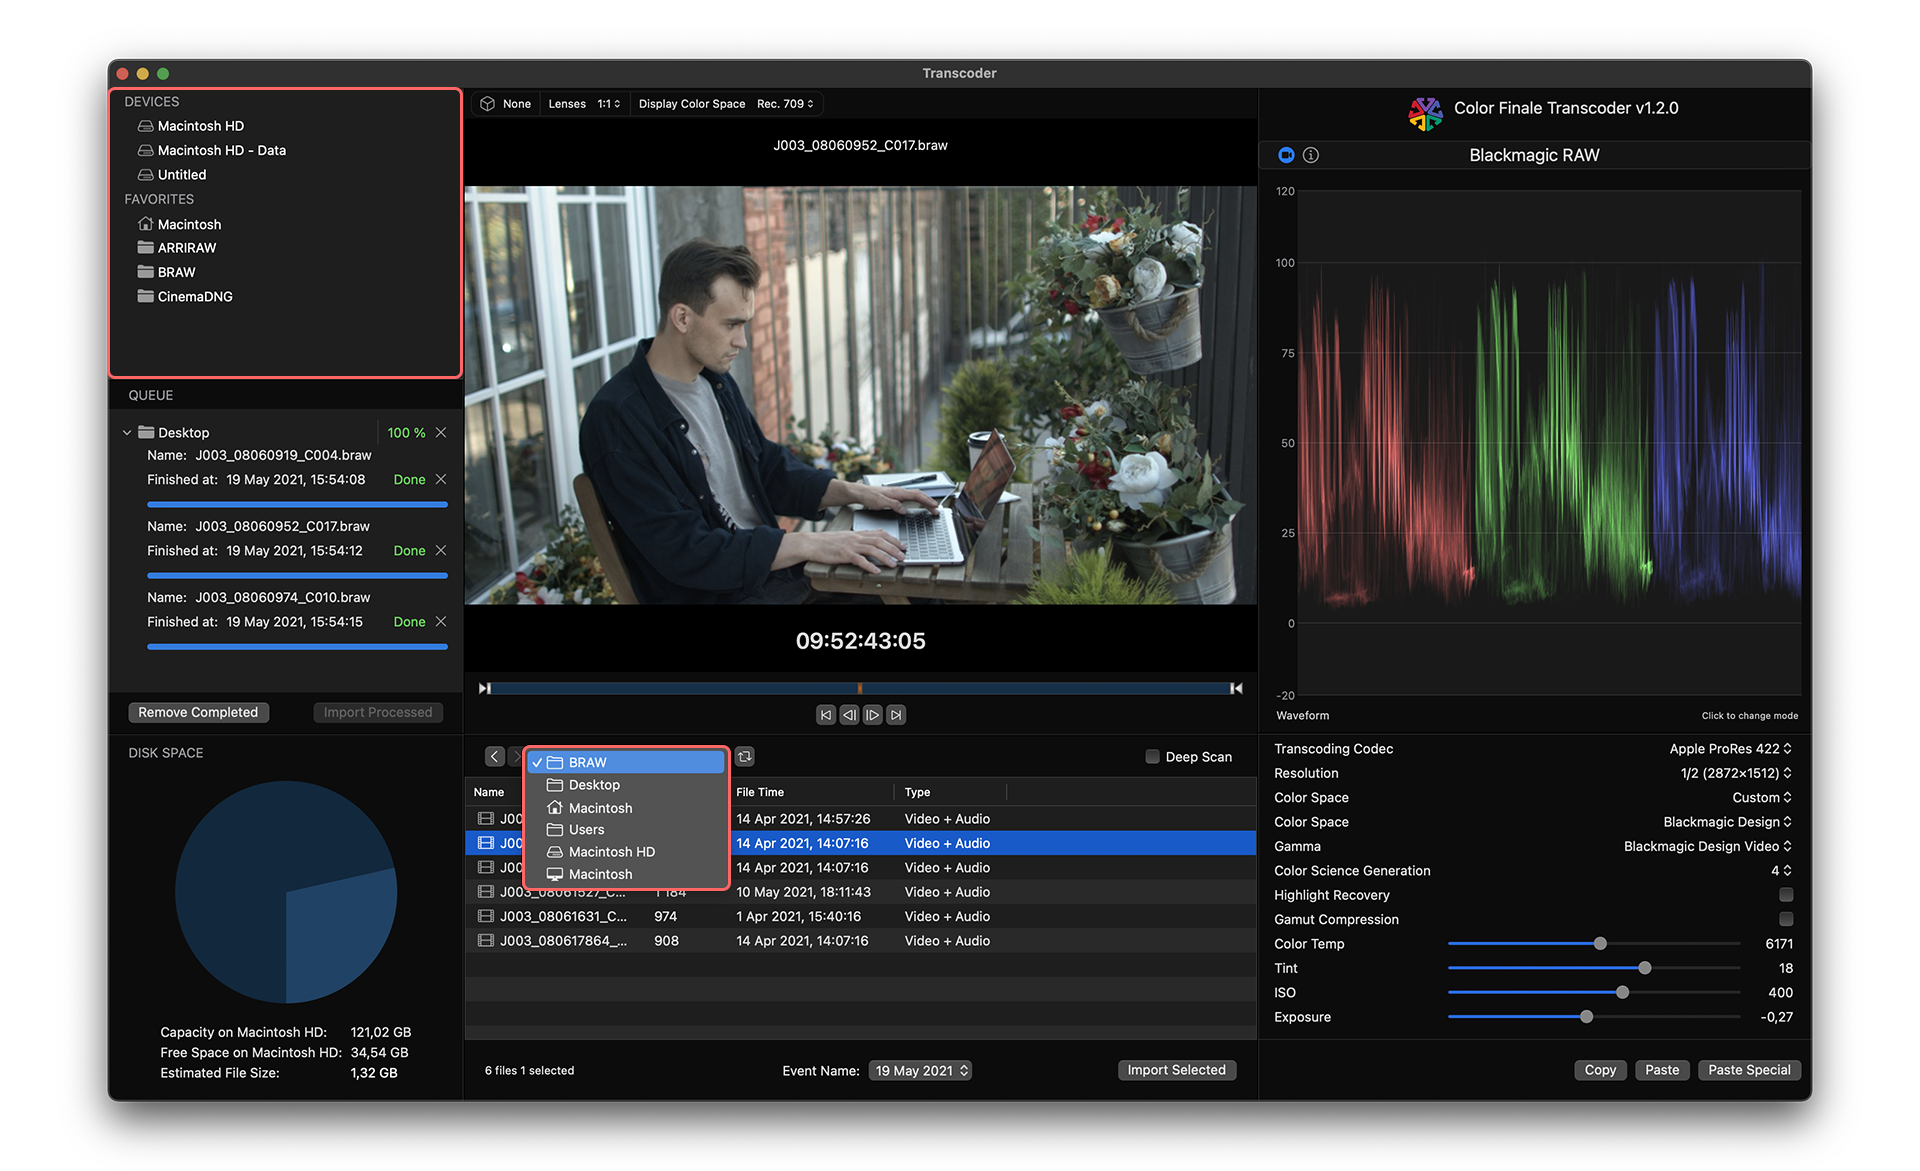
To use Color Finale Transcoder, select the desired media drive from the sidebar, which will display the folder contents within the integrated file browser. Navigate into the folder containing the raw files that you intend to import. Only the file names of supported camera raw files will be displayed. If you have a folder of BRAW or ARRIRAW movie files, then you can move through the shots within that folder. To save a folder as a Favorite, simply drag that folder from the center list into the sidebar under the Favorites section.
Both ARRIRAW and CinemaDNG clips can be recorded as image sequence files that are grouped into a subfolder for each clip. They can also be recorded into a single, self-contained .mxf movie file. Transcoder supports image sequences of ARRIRAW .ari files and CinemaDNG .dng files, and also ARRIRAW .mxf files.
When working with image sequences and Deep Scan hasn’t been enabled (See Section 4), you will need to step into each shot’s subfolder in order to see that clip. When you step into each subfolder, you will only see a single file name for the entire clip, not all of the individual frames of the sequence. This will be the name of the first frame of the consecutively-numbered image sequence.
Proceed through each camera raw clip and adjust the color space and camera raw parameters for proper brightness, contrast, and color using the Transcode parameter settings in the righthand pane. Trim the in and out points for each selected clip if you only intend to import a shorter section of the clip.
Transcoding parameters may be copied and pasted between clips using the Copy and Paste buttons located in the lower right corner. If you select Paste Special, the pane displays a selection of settings to paste. This may be used if you only want to paste some but not all of the copied parameters. After you have done this for each clip, select/highlight one or more clips in the file browser to be imported.
Feedback
Was this page helpful?
Glad to hear it!
Sorry to hear that.